A Beginner’s Guide to Soldering Safely at Home
Soldering is a skill that takes an afternoon to become competent at and rewards you for the rest of your life in repairs you no longer have to pay for. It is also genuinely hazardous if you skip three basics, so those come first.
Ventilation, and what the smoke actually is
The smoke that rises when you solder is not vaporised metal. It is flux — the rosin core inside the solder wire — burning off. Rosin fumes are a respiratory irritant and repeated exposure can cause sensitisation.
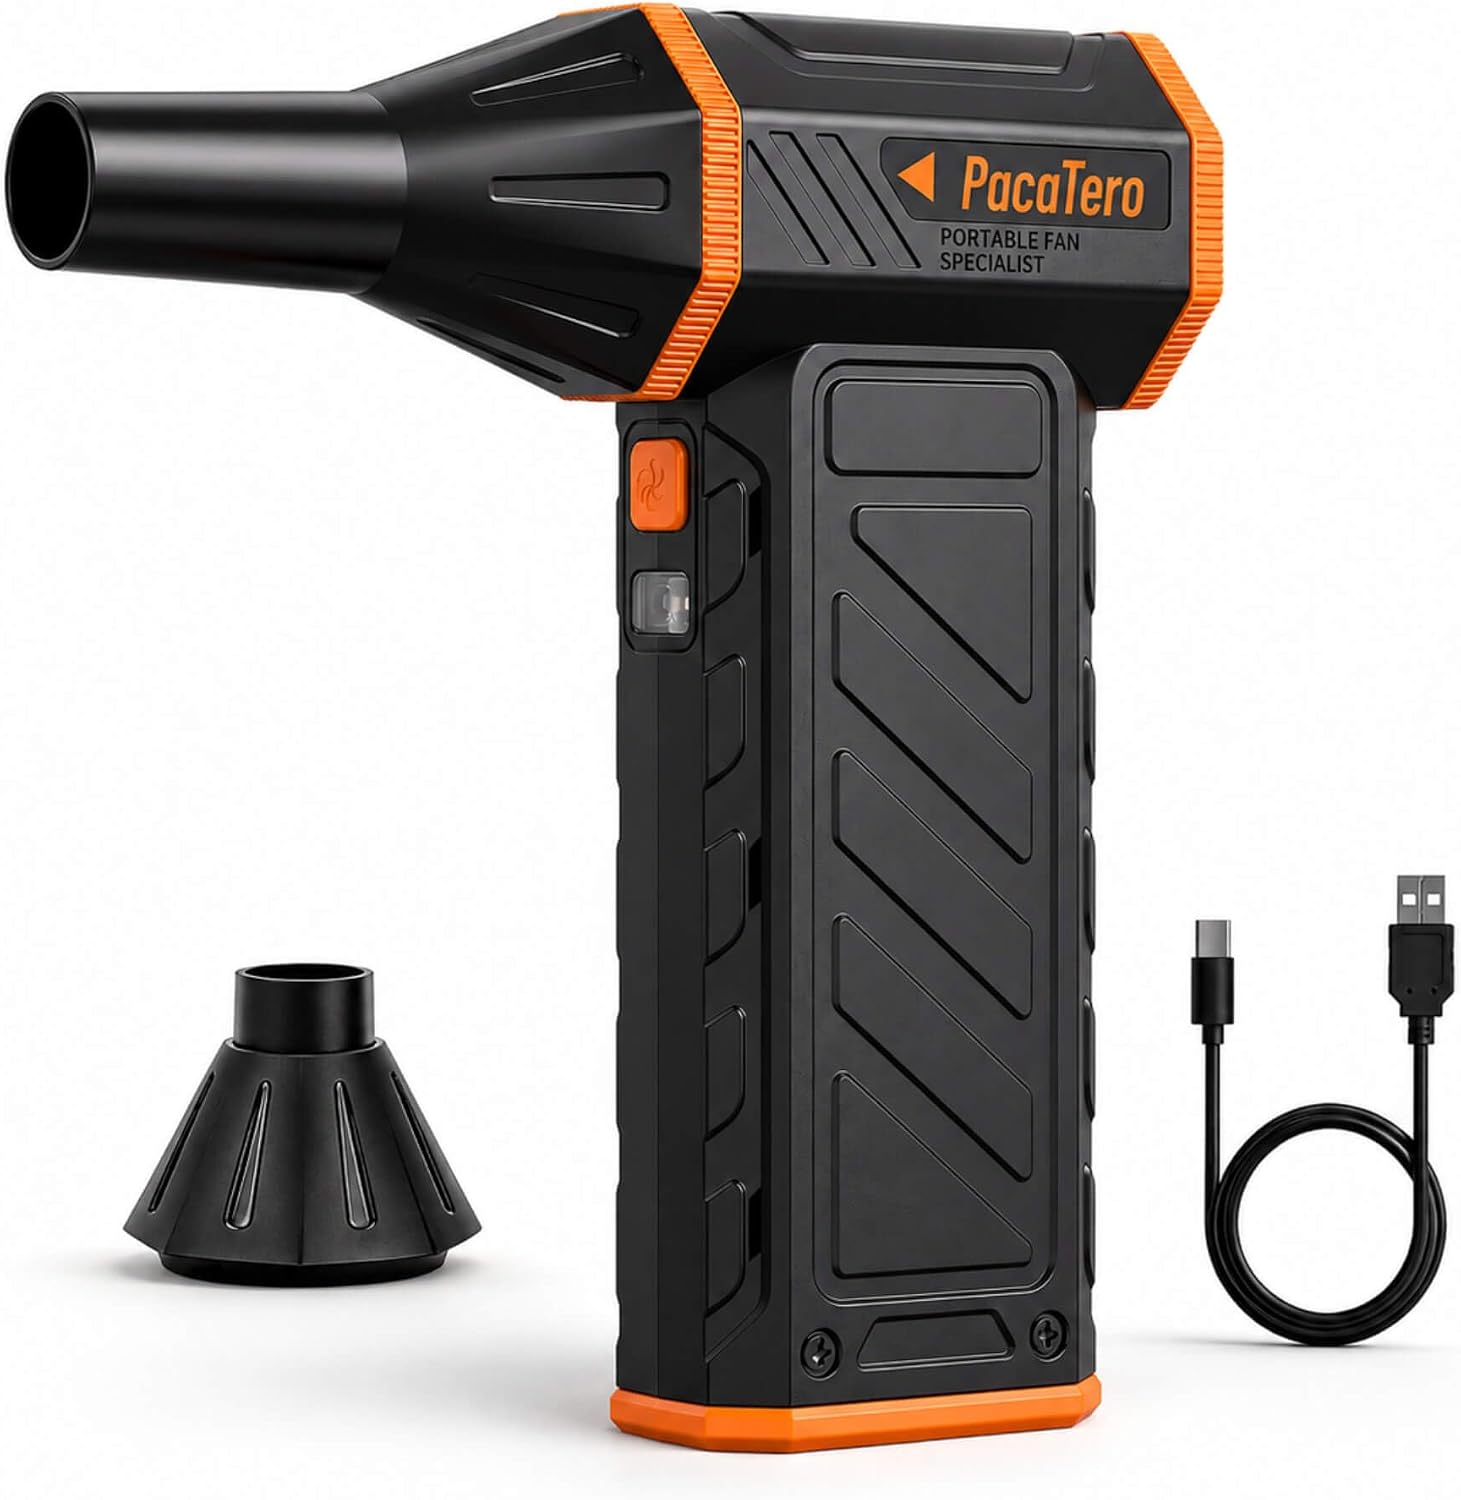
Work in a ventilated space, near an open window with air moving away from you, or with a small fan drawing the plume sideways rather than past your face. A dedicated fume extractor is better if you solder often.
This costs nothing to get right and is the single most commonly ignored precaution in home electronics.
Lead, hand washing and where solder should not go
Traditional 60/40 tin-lead solder is easier to work with than lead-free and it contains lead. The risk is not from the fumes, which are flux, but from transfer: touching solder and then touching food or your face.
Wash your hands after any soldering session and do not eat at the bench. Keep solder off surfaces where food is prepared, and keep it away from children entirely.
Lead-free solder avoids this but requires a higher tip temperature and is less forgiving for a beginner. Either is fine as long as you handle it deliberately.
Temperature: the number that decides everything
For 60/40 leaded solder, a tip temperature around 315 to 340 degrees Celsius covers most work. Lead-free needs roughly 350 to 380. An adjustable iron with a digital display lets you set this rather than guess it.
Too cool is worse than slightly too hot. A cold iron makes you hold the joint longer, which puts more total heat into the component than a hotter iron used briefly would.
An 80W iron with fast heat-up reaches temperature in seconds and recovers quickly when it touches a heat-sinking pad, which is why wattage matters even though it is not the temperature.
Tinning the tip, and why a dead tip is usually neglect
A soldering tip is iron-plated and must always carry a thin coat of solder. Bare hot iron oxidises within seconds, and an oxidised tip will not transfer heat no matter how hot the iron reads.
Tin the tip as soon as it reaches temperature, wipe on a damp sponge or brass wool immediately before each joint, and re-tin before you switch off. Never file or sand a tip; that removes the plating and ruins it permanently.
Most tips that people describe as worn out have simply been left bare and hot.
Making a joint that will last
Heat the joint, not the solder. Touch the tip so it contacts both the component lead and the pad, count to two, then feed solder into the joint on the opposite side from the tip. The solder should flow towards the heat and wet both surfaces.
A good joint is shiny, concave and volcano-shaped, with the lead visible through it. A dull, blobby, convex joint is a cold joint — it has bridged mechanically without wetting, and it will fail intermittently.
Remove the solder first, then the iron. Reversing that order drags a peak onto the joint.
Desoldering and rework
Removing a component is the harder half. Solder wick — braided copper with flux — laid on the joint and heated through will draw the solder up by capillary action. A desoldering pump handles larger volumes.
Add fresh solder to an old joint before trying to remove it. That sounds backwards and it works: fresh solder carries new flux, which lets the whole joint flow so the wick or pump can take it cleanly.
Be patient with multilayer boards. Lifting a pad is the one damage that is genuinely difficult to repair.
The rest of the bench
A precision screwdriver set with a good bit selection opens almost everything; a 115-in-1 set covers pentalobe, tri-point and security bits that consumer devices increasingly use. Plastic spudgers and opening picks separate glued assemblies without marking the case.
Good light matters more than most people expect, as does something to hold the work. A pair of helping hands or a small vice frees both of yours, which improves joint quality immediately.
Keep a small tray for screws and photograph each stage of a disassembly. Both save far more time than they cost.
A first project worth doing
Start by replacing a cable on a pair of headphones, or re-soldering a loose DC jack on a device you do not depend on. Both are through-hole joints with plenty of thermal mass and forgiving of a beginner's timing.
Practise on scrap first if you have any — an old board from a dead appliance is ideal, and it costs nothing to ruin.
Within a dozen joints the motion becomes automatic, and the difference between a shiny joint and a cold one becomes obvious at a glance.
Where to go next
Soldering kits, solder wire, precision screwdriver sets and opening tools are in Tools & Repair.
Shop Tools & Repair
Related articles